Ultimate Guide to Not Going Low – Part 3: Tools
Thursday, April 25, 2019
- Christy Frikken
- 4/25/19
- 0
- Big Ways
Going low sucks! Every skydiver of some experience has had that combination of panic and dread as they are looking upwards at an all-but-one completed formation. This guide takes you through the steps to avoid that sinking feeling. We start off talking about slow fall, move on to the stadium, discuss tools for aligning your range, and finish with recovery. Be sure to grab the bonus tunnel drill guide for skills you practice in a tunnel!
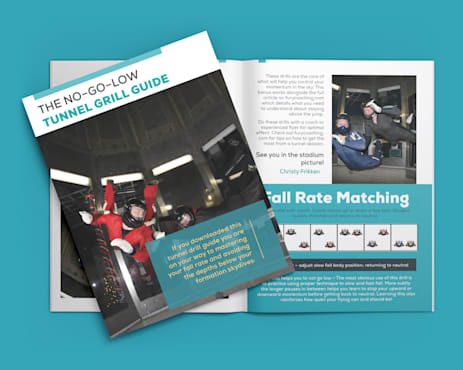
Bonus No-Go-Low Tunnel Drill Guide
Tools
Mass vs. surface area
Confused at why Galileo said all objects fall at the same speed, yet we need weight belts and sleeves? I’m lucky to know people who are smart enough to argue the formula for this at a bar. (Seriously, they were working it out on napkins between beers.) My very fourth-grade explanation is that it only works on the moon, where there isn’t air. Here on Earth, it’s is all about your mass vs. surface area. I found this very reasonable explainer for those who are inclined.
Description of fall rate range
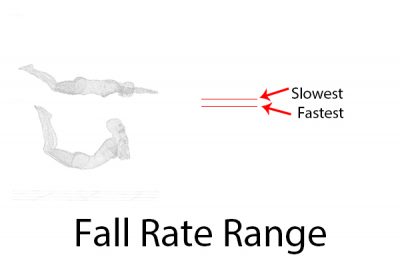
When you start on AFF, your intentional fall rate range is zero. You fall how you fall; you have no idea how to go slower or faster. Then someone teaches you to add and subtract some surface area. You aren’t great at it, but your range increases a little. The gap is the difference, and this difference is your range.
Expanding the bracket
Your first plan of attack should be to expand your range with technique and flexibility. You can learn to fall slower and faster more efficiently, pushing that bracket up. With time you can become more flexible, pressing that bracket downwards. A big bracket means more dynamic changes, more options for flying with different fall rate ranges, and more options for correction when things aren’t perfect.
Expand your bracket with tunnel.
Bonus No-Go-Low Tunnel Drill Guide
Lining up the center dots
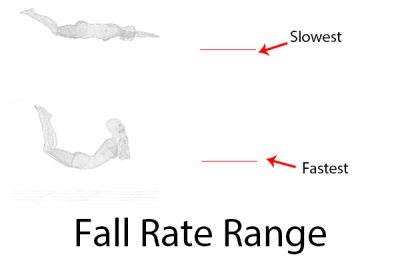
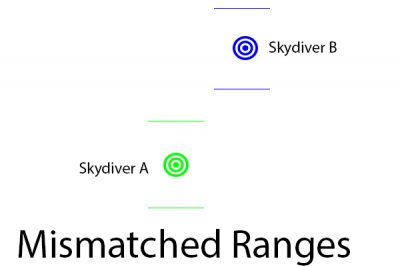
If two flyers’ ranges do not overlap, they will not successfully fly together. One will float while the other sinks, and they will continue gaining distance after they release from exit.
Just because you have a big range, though, doesn’t mean you want to be flying at the edges. It is uncomfortable and less effective. In a perfect world, you want to fly in the middle of that range so you can fall both slower and faster as needed for the formation. It also means you can stick your limbs out to turn or move without popping up or bring a limb in without sinking hopelessly.
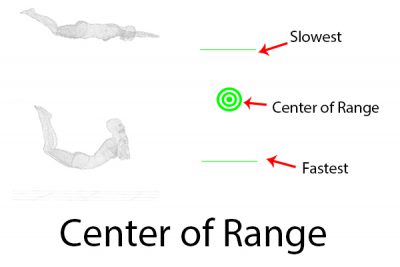
If we set a group off for success, we do our best to line the center dots of our ranges up. We do this by guessing and checking! Your first jump with a group, you take a stab at how you think everyone will fall and go find out. From there you know how off-center you are.
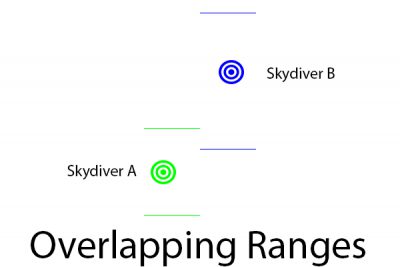
Notice that if you have a wide range, you can still cope with a very slow or fast fall rate. You can make it happen, which is what makes you a great skydiver. It is also a strain, though, and we want to put you in a spot in which you have the maximum options.
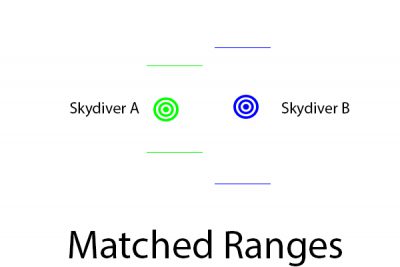
Shifting the bracket
What do you do if your middle range doesn’t align with your group? Shift the whole bracket up and down. This is where tools come in. Technique will get you more range, but it won’t move your whole bracket or align those center dots.
To fix this problem you must change your body or use tools.
More cheeseburgers, fewer cheeseburgers
With time, you can change your body of course. Add weight and you’ll fall faster; lose it and you’ll fall slower. This obviously takes time, has limits, and is easier said than done. But from a long-term perspective, you can improve your body in a way that gives you more of an advantage as a skydiver.
Weight belts
If you need to fall faster, grab a weight belt. Adding some mass will move your whole range down. It will allow you to comfortably take grips, move more powerfully, and increase your stability when falling at a faster than natural speed.
How much lead? Guess and check. That is why groups do multiple jumps. Some basic advice is to start with about 6 pounds and go from there. Be conscious what adding lead does to your wingloading. With practice, you’ll get pretty good at a first guess.
Suit choices
If you want to fall slower, grab some fabric. Pull-over sleeves, swoop cords, bigger suits, or even a sweatshirt create more drag. Adding these to your repertoire is how you will slow down your whole bracket. In a perfect world, you have a choice of suits and suit parts you can use to adjust your fall rate to a group.
Dress for the formation and use technique to get there
On a final note, when you are matching a group, line your middle-of-range dot up to fall comfortably INSIDE the formation, not to what you think you need to get to the formation. It is a big mistake to “go light” so that you don’t have to worry about going low. If you get to the group, struggle to pick up grips, lift people up, and can’t be stable, this is as bad as going low and never getting there. It creates an unsuccessful group.
Dress for your slot while you are holding grips. You should be right in the middle when you are hooked up. To avoid going low, use great slow fall and your buffer zone!
Bonus No-Go-Low Tunnel Drill Guide
Tags: fallrate


